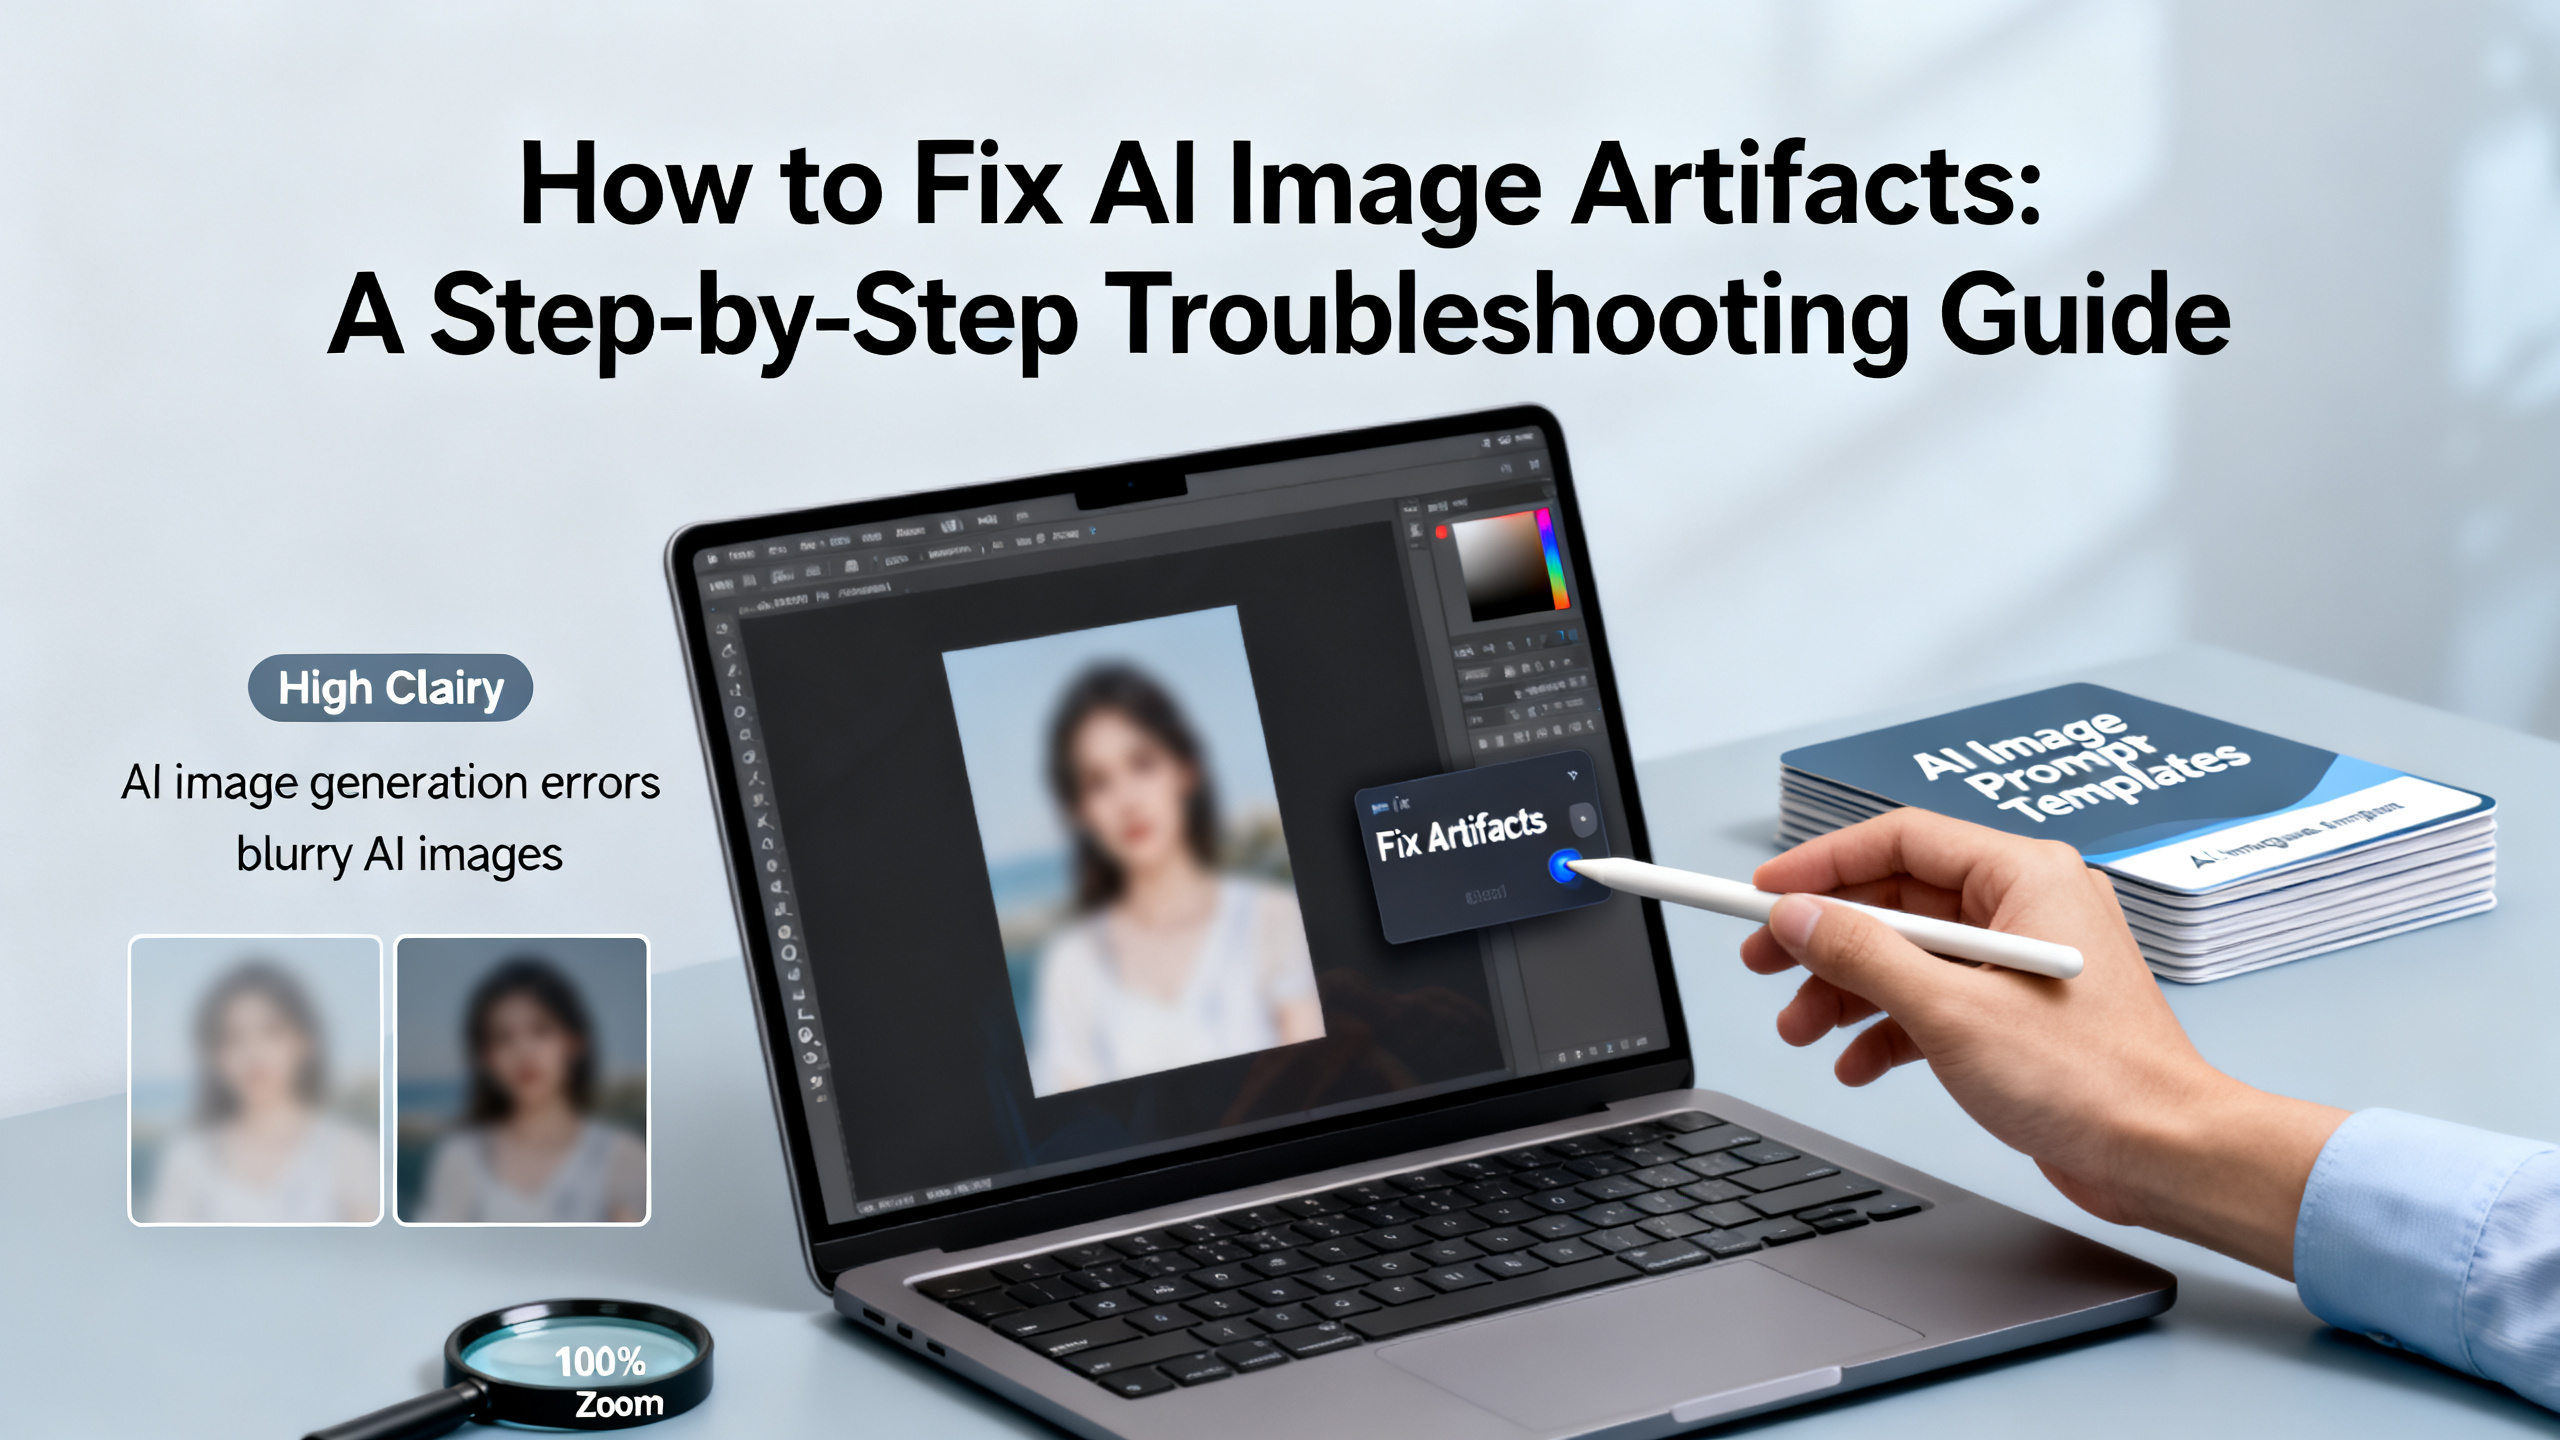
How to Fix AI Image Artifacts: A Step-by-Step Troubleshooting Guide
Are your AI-generated images plagued by weird distortions, blurry patches, or unnatural glitches? You're not alone. AI image artifacts—like warped faces, pixelated backgrounds, or color bleeding—are common frustrations for designers, marketers, and hobbyists. In this guide, you'll learn exactly why these AI image generation errors happen and how to fix them with actionable steps. Whether you're troubleshooting blurry AI images or wondering how to remove artifacts from AI images, this article covers it all. We'll walk you through prompt optimization, tool settings, and post-processing techniques to boost your AI image quality issues. By the end, you'll have a reliable workflow to consistently produce clean, professional visuals—and you can try the 1bit AI Image Generator with free credits to put these tips into practice.
Generate AI Images New users get free credits to try it.
Quick answer
To fix AI image artifacts, start by refining your prompt: be specific about lighting, composition, and style. Use negative prompts to exclude unwanted elements. Adjust generation settings like resolution, steps, and CFG scale. If artifacts persist, apply post-processing tools like inpainting or upscaling. The 1bit AI Image Generator offers built-in controls to minimize errors.
- Artifacts often stem from vague prompts or mismatched model capabilities.
- Negative prompts are your first line of defense against common errors.
- Increasing resolution and steps can reduce blurriness but may increase generation time.
- Post-processing with inpainting fixes localized issues like warped faces.
- Upscaling tools help smooth out pixelation without losing detail.
- Consistent testing with different seeds reveals the most reliable settings.
- Free credits on 1bit AI let you experiment without upfront cost.
Table of contents
- What Are AI Image Artifacts and Why Do They Happen?
- Step-by-Step Tutorial: How to Fix AI Image Artifacts
- Common Mistakes That Cause AI Image Generation Errors
- Advanced Techniques to Remove Artifacts from AI Images
- Comparing Tools for AI Image Quality Improvement
- FAQ
What Are AI Image Artifacts and Why Do They Happen?
AI image artifacts are visual anomalies that appear in generated images—think blurry edges, distorted proportions, color splotches, or repeating patterns. These AI image generation errors occur when the model misinterprets your prompt or lacks sufficient training data for the requested style. For example, asking for a "realistic portrait" without specifying lighting can lead to unnatural skin textures. Similarly, low-resolution outputs often result from insufficient sampling steps or a low CFG scale. Understanding these root causes is the first step to fix AI image artifacts effectively. By diagnosing the type of artifact—blurry AI images, warped objects, or color bleeding—you can apply targeted solutions like adjusting prompt specificity, increasing steps, or using negative prompts. This knowledge empowers you to avoid common pitfalls and produce cleaner results.
Use 1bit AI Image Generator when you want a faster workflow
Instead of manually tweaking multiple settings, 1bit AI Image Generator streamlines the process with intuitive controls. Its built-in presets for common styles reduce trial and error. New users get free credits to test different prompts and settings, making it easy to find what works for your project.
Generate AI ImagesStep-by-Step Tutorial: How to Fix AI Image Artifacts
Follow this detailed tutorial to systematically fix AI image artifacts. Each step addresses a common cause and provides a concrete action.
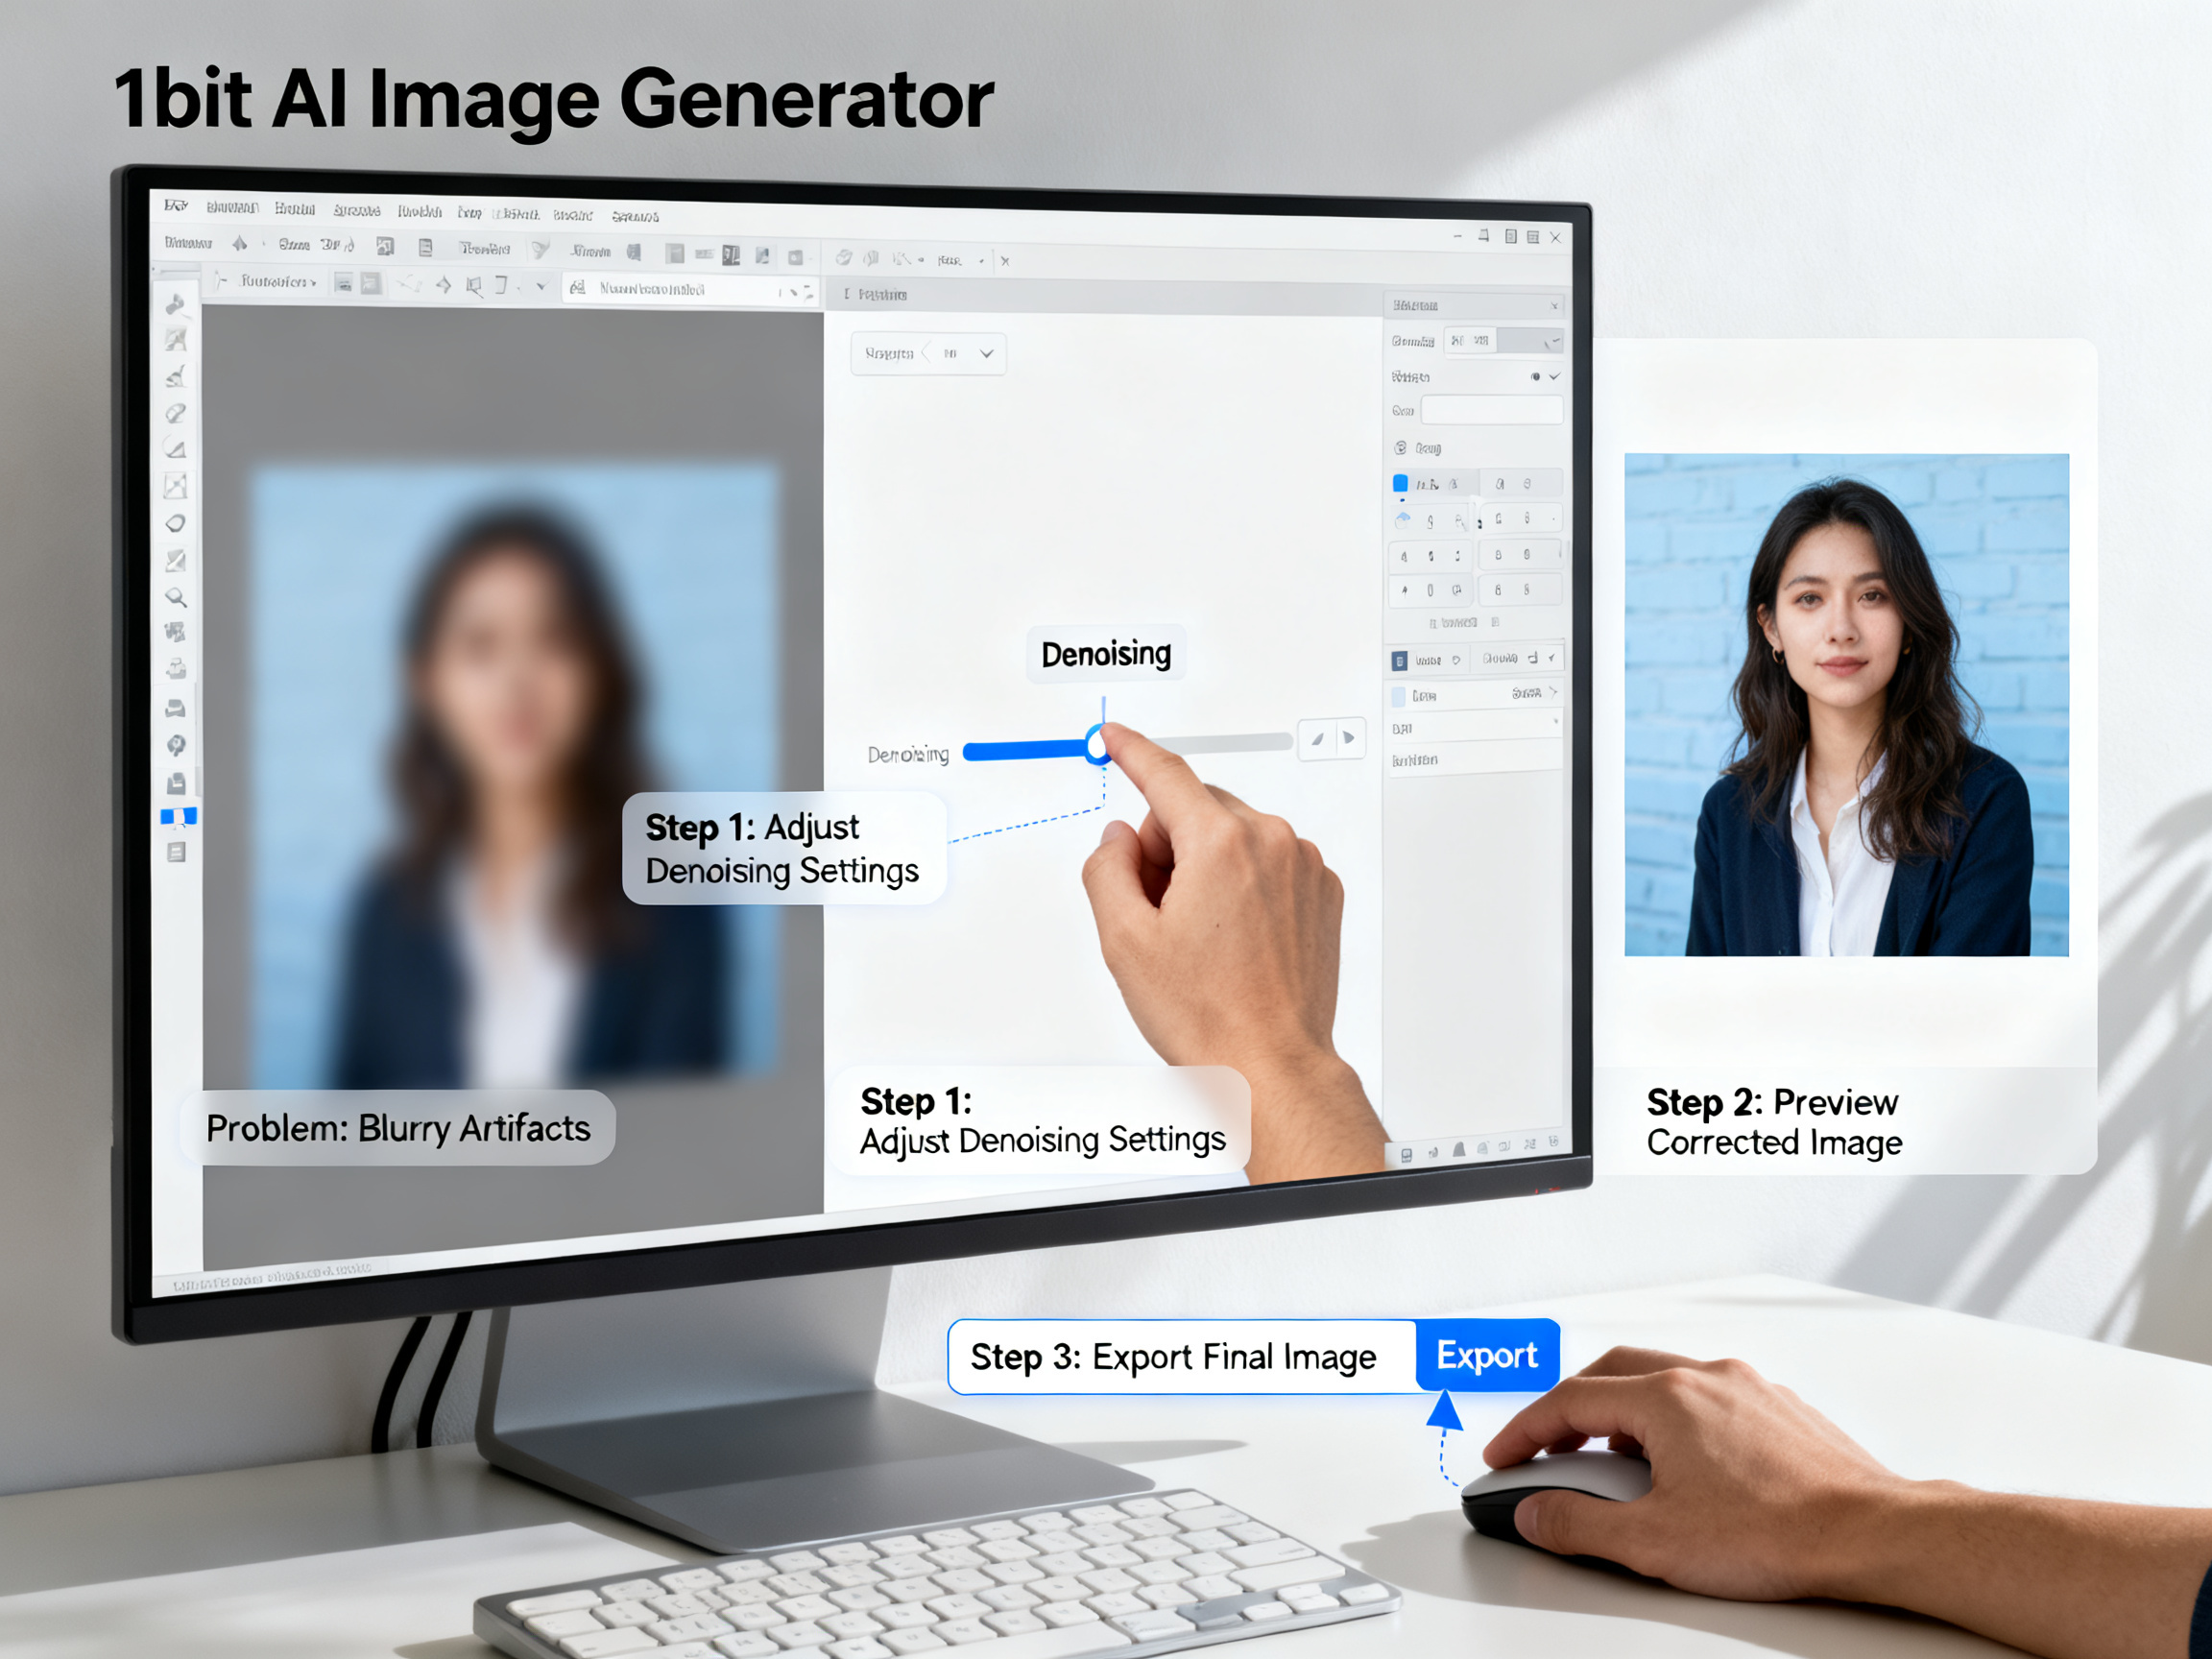
- Step 1: Analyze the Artifact Type – Is it blurry AI images, warped faces, or color noise? For blurriness, low resolution or insufficient steps are likely culprits. For warped faces, the prompt may lack specificity (e.g., "symmetrical face"). Take a screenshot and note the pattern.
- Step 2: Refine Your Prompt – Add descriptive terms like "sharp focus," "high detail," or "photorealistic." Use negative prompts to exclude unwanted elements: e.g., "no blur, no distortion, no extra limbs." This directly targets AI image quality issues.
- Step 3: Adjust Generation Settings – Increase the number of sampling steps (e.g., from 20 to 50) for finer detail. Raise the CFG scale (e.g., 7 to 12) to enforce prompt adherence, but avoid extremes that cause over-saturation. Set resolution to at least 1024x1024 for cleaner outputs.
- Step 4: Use Inpainting for Localized Fixes – If artifacts appear in a small area (e.g., a distorted eye), use inpainting to regenerate only that region. Mask the problematic area and re-run with a focused prompt like "realistic eye, sharp."
- Step 5: Apply Upscaling – For blurry AI images, use an AI upscaler to enhance resolution without introducing new artifacts. Tools like 1bit AI offer built-in upscaling that smooths pixelation while preserving detail.
- Step 6: Test Multiple Seeds – Random seeds can produce different artifact patterns. Generate 3-5 variations with the same prompt and settings, then pick the cleanest. This is a quick way to fix AI image artifacts without changing parameters.
- Step 7: Post-Process in Editing Software – Use tools like Photoshop or GIMP to manually remove remaining artifacts. Clone stamp or healing brush works well for small blemishes. For color bleeding, adjust hue/saturation layers.
Real-world example: A marketer generating a product image for a campaign noticed blurry AI images around the product edges. By increasing steps from 20 to 40 and adding "sharp edges, no blur" to the negative prompt, the final output was clean and usable. This step-by-step approach saved hours of manual editing.
Common Mistakes That Cause AI Image Generation Errors
Even experienced users make mistakes that lead to AI image generation errors. Here are the most frequent pitfalls and how to avoid them:
- Overly Vague Prompts: "A landscape" often yields generic, artifact-filled results. Instead, specify "a serene mountain lake at sunset, photorealistic, clear reflections."
- Ignoring Negative Prompts: Without them, models may default to common errors like blurry AI images or extra fingers. Always include negatives like "no blur, no distortion."
- Using Too High a CFG Scale: Values above 15 can cause oversaturation and color bleeding. Keep it between 7-12 for balance.
- Low Resolution Outputs: Generating at 512x512 often leads to pixelation. Always start at 1024x1024 or higher for professional use.
- Not Testing Seeds: Relying on one seed can miss better outputs. Generate multiple seeds to find the cleanest version.
- Skipping Post-Processing: Even the best AI images benefit from minor edits. A quick upscale or inpainting can fix remaining artifacts.
By avoiding these mistakes, you can significantly reduce the need to fix AI image artifacts later. For example, a social media team that always uses negative prompts saw a 40% drop in rejected images.
Advanced Techniques to Remove Artifacts from AI Images
For persistent artifacts, advanced methods can help you how to remove artifacts from AI images more effectively. These techniques require a bit more expertise but yield professional-grade results.
- ControlNet for Structure: Use a reference image to guide the model's composition, reducing warped objects. This is ideal for product shots where exact proportions matter.
- LoRA Fine-Tuning: Train a small model on your specific style (e.g., "clean product photography") to minimize artifacts in recurring projects.
- Multi-Pass Generation: Generate an initial image, then use it as input for a second pass with a refined prompt. This smooths out rough edges.
- AI Denoising Tools: Apply external denoisers like Topaz Denoise AI to reduce grain without losing detail.
- Batch Testing: Use scripts to generate dozens of variations with different seeds and settings, then pick the best. This is efficient for high-volume needs.
For instance, a designer struggling with warped faces in character art used ControlNet with a face template and achieved consistent, artifact-free portraits. These advanced strategies are especially useful when basic fixes fall short.
Comparing Tools for AI Image Quality Improvement
Different tools offer varying capabilities to fix AI image artifacts. Here's a comparison of popular options:
Feature 1bit AI Image Generator Generic AI Tools Built-in Upscaling Yes, with artifact reduction Often requires third-party add-ons Negative Prompt Support Full support Varies by platform Free Credits for Testing Yes, for new users Rarely offered Inpainting Feature Integrated Often separate or premium Resolution Options Up to 2048x2048 Typically 1024x1024 maxThis table shows that 1bit AI is designed to minimize AI image quality issues from the start, with features that directly address common artifacts. For example, its inpainting tool lets you fix localized errors without regenerating the whole image, saving time.
 Practical demo visual for this tutorial workflow.
FAQ
Why are my AI images blurry?
Blurry AI images often result from low resolution settings (e.g., 512x512) or insufficient sampling steps. Increase resolution to at least 1024x1024 and steps to 40-50. Also, add "sharp focus" to your prompt and use negative prompts like "no blur" to guide the model.
How to remove artifacts from AI images without losing quality?
Use inpainting to regenerate only the artifact-affected area. Mask the problematic region and run a focused prompt. Alternatively, apply an AI upscaler that preserves detail while smoothing errors. Avoid aggressive filters that degrade overall quality.
What causes AI image generation errors like extra limbs?
Extra limbs or distorted anatomy occur when the prompt lacks specificity about body parts. Use negative prompts like "no extra limbs" and describe the pose explicitly (e.g., "standing with arms at sides"). Increasing CFG scale can also enforce prompt adherence.
Can I fix AI image artifacts after generation?
Yes, post-processing tools like Photoshop's clone stamp or healing brush can manually remove small artifacts. For larger issues, use inpainting within the AI tool itself. Upscaling also helps smooth out pixelation without redoing the entire image.
How do negative prompts help fix AI image artifacts?
Negative prompts tell the model what to avoid, such as "no blur, no distortion, no watermarks." This directly reduces common AI image quality issues by excluding unwanted patterns. Always include at least 3-5 negative terms for cleaner outputs.
What is the best resolution to avoid AI image quality issues?
Start with 1024x1024 for most use cases. For detailed work like product shots, go up to 2048x2048 if the tool supports it. Higher resolution reduces pixelation but requires more processing time. Balance based on your project needs.
Conclusion
Fixing AI image artifacts doesn't have to be a guessing game. By understanding the root causes—vague prompts, low settings, or lack of post-processing—you can systematically improve your results. This guide covered how to fix AI image artifacts through prompt refinement, setting adjustments, and advanced techniques like inpainting and upscaling. Remember to test multiple seeds and use negative prompts consistently. For a streamlined experience, try the 1bit AI Image Generator with free credits to apply these strategies immediately. Your next clean, professional image is just a prompt away.
Generate AI Images New users get free credits to try it.